How Shoes are Made Video
How Shoes Are Made Video:
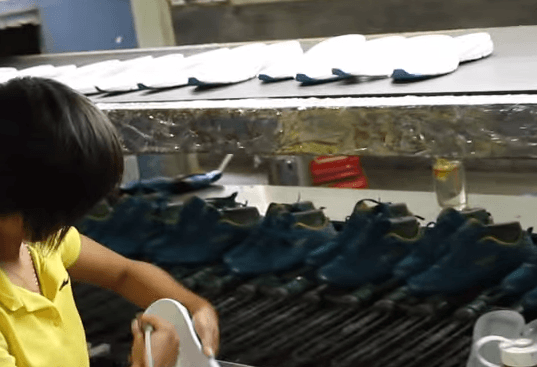
I found this video on YouTube. It’s a quick walk down a typical shoe assembly line. This is a very small, one-line factory, which is not the typical size of a modern shoe factory. The shoes being made in the video are for a local Asian footwear brand. The process they use is exactly the same as Nike uses to manufacture their shoes. In the video, it is difficult to see what’s going on so I have detailed a few of the steps in the process for you here. The video picks up at the start of the shoe assembly line, the uppers are already stitched and stacked waiting for final assembly.
The Start of the Shoe Assembly Line Video:
This video does not clearly show the lasts being inserted but you can see the shoe coming out of the first “shrinking” heat tunnel. The heat helps dry the steamed shoe uppers. Once out of the tunnel, the lasting machine operator gives the shoe a quick squeeze. This machine is the same type used for board lasting and can be set up to stretch a shoe upper down tight onto the shoe last. A heel lasting machine can be used on the back of the shoe. I don’t see this heel lasting machine on this shoe assembly line. 

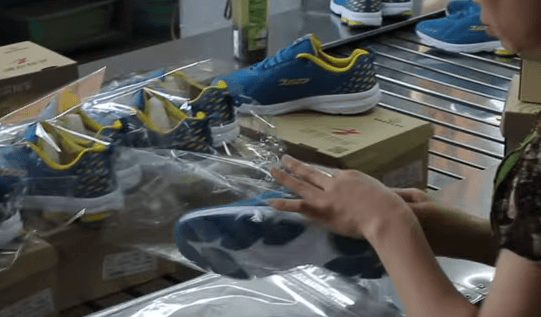
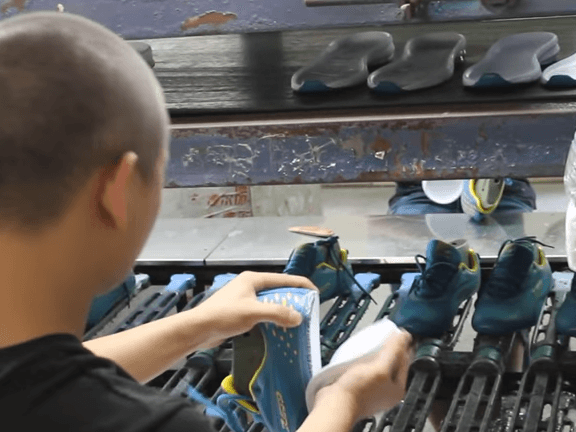
The next operation happens fast. The worker pulls a shoe off the line and matches it to the correct size outsole. A foot-activated press holds the shoe down while she marks the top edge of the molded EVA midsole with a pen. This mark is called the glue line. In this case, the line is a guide for the workers at the cementing work station. If this shoe required roughing, the workers with the buffing tools would follow the same line before the primer and glue are applied.
 Next, you see the workers apply the primer and cement to the uppers and the shoe outsoles. The outsoles and uppers are on opposite sides of the assembly line. This allows the workers to apply different compounds of primer and glue to each part. The outsole requires a different primer for a strong bond.
 At the next station, the outsoles are moved to a different conveyor belt. This allows the glue to be dried at a different temperature.
Outsole Assembly:
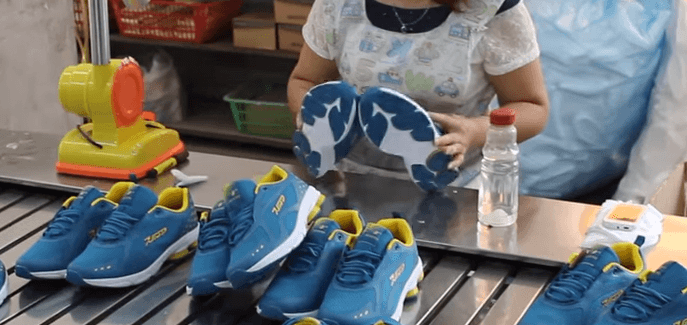
 Once the primer and cement are dry, the parts can be assembled. The worker matches the correct size outsole with the upper and then presses them together by hand. He carefully but quickly aligns them, starting at the toe to make sure it’s centered. Next, the worker will flip the shoe and set the heel into position. The cement is dry but tacky so it can be repositioned without affecting the final bonding strength.
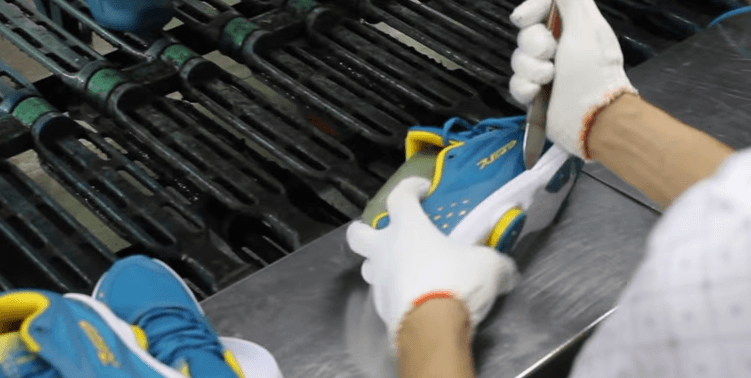 A metal or plastic tool is used to make sure the midsole follows the glue line and confirm the edges are straight. This tool can also be used to remove air bubbles or unroll any tucked edges on the midsole.
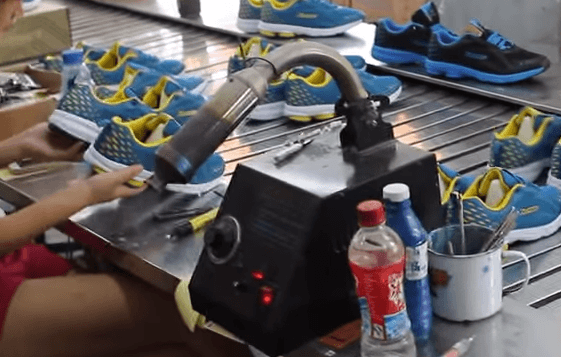
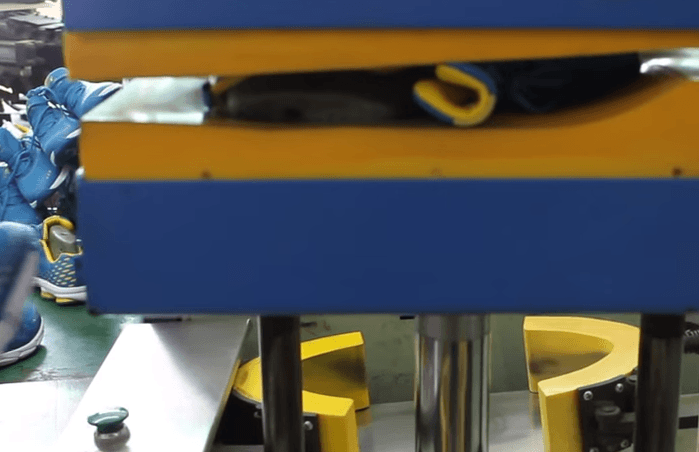
To speed set the glue bond the shoe is cooled in a chilling tunnel. To ensure the outsole and upper have complete contact, the shoe will go through three pressing operations. The downward press, the side press, and the toe and heel press. These pressing surfaces must be clean and smooth so as not to damage or soil the assembled shoe. The bottom press should be made with a matching negative casting of the outsole or a contoured pressing plate to ensure the arch area is fully pressed.

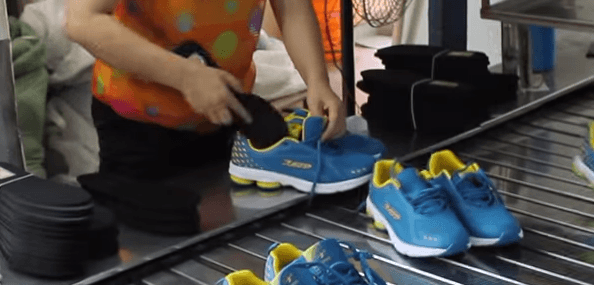
After pressing, it’s time to remove the shoe last and insert the footbed.